Inbound shipments
An inbound shipment tells the warehouse what stock you are sending.
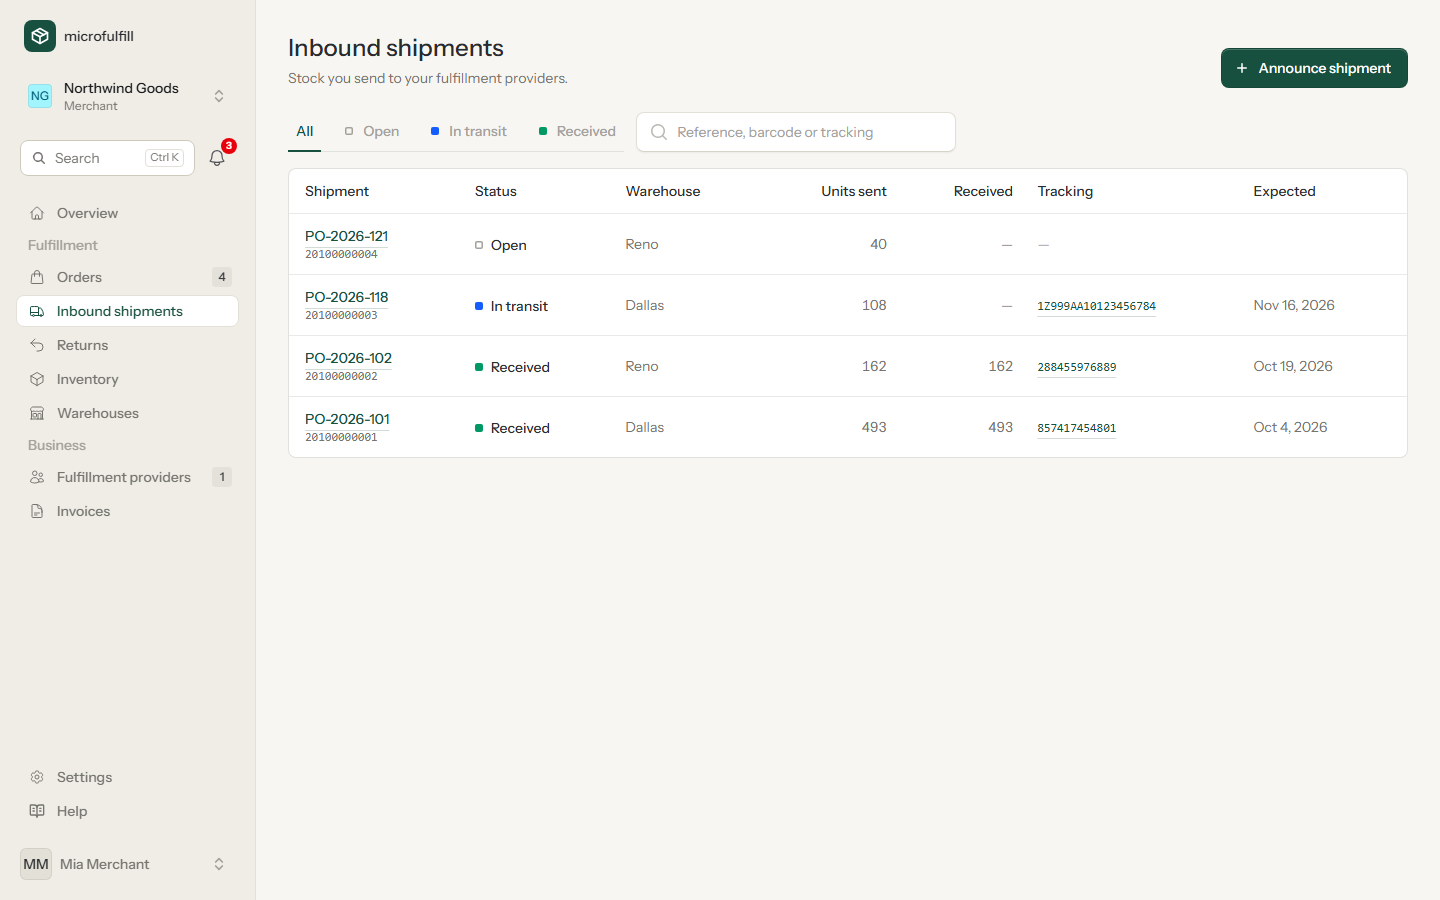
Announce a shipment (merchants)
- Click Announce shipment.
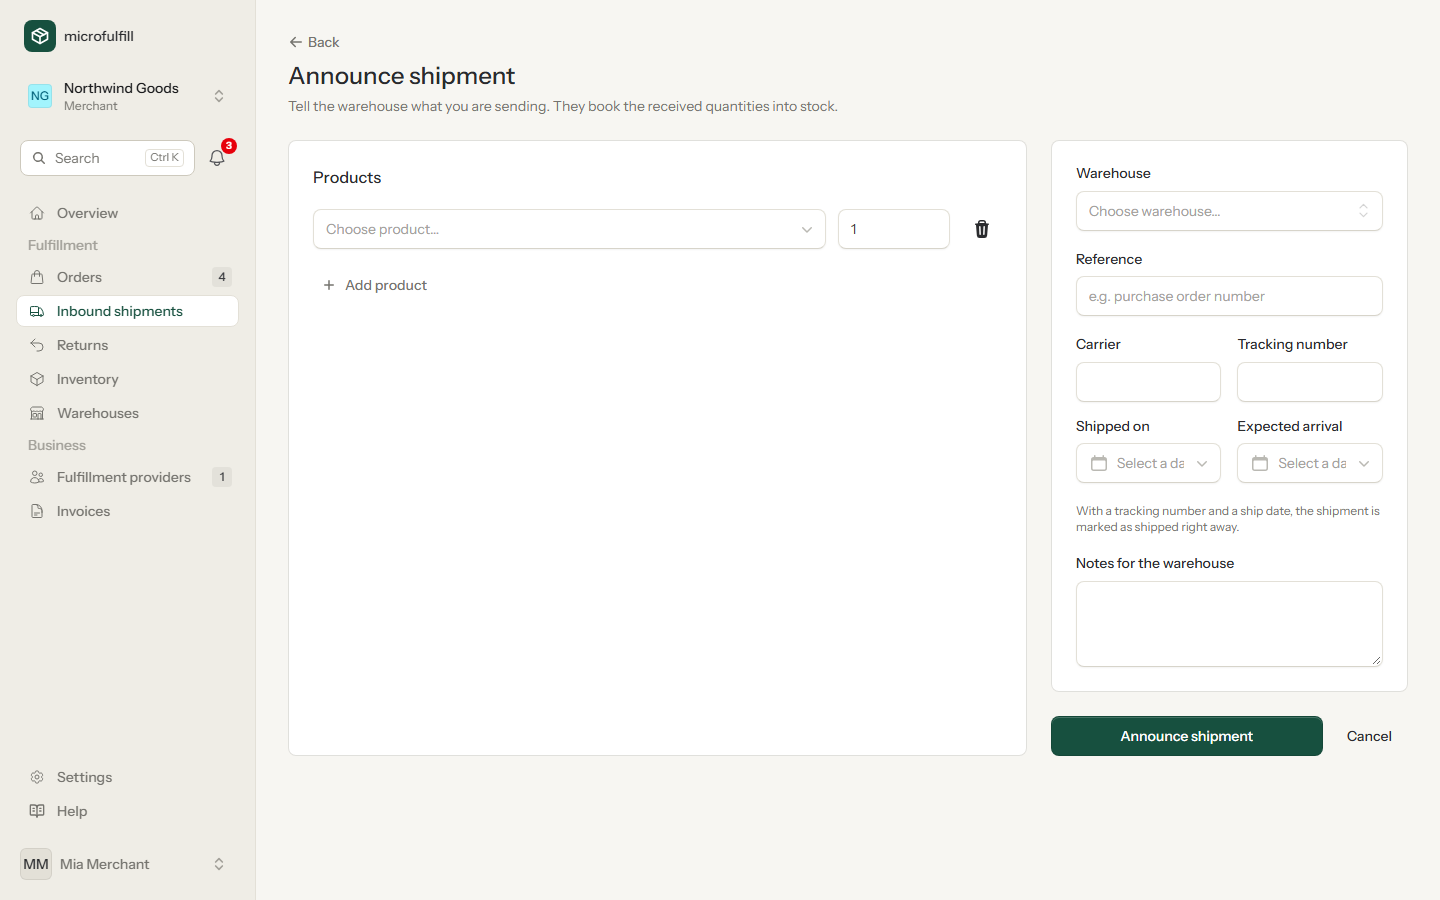
- Choose the warehouse and add the products and quantities.
- Optionally enter a reference (for example your purchase order number), the carrier, the tracking number and the expected arrival.
- Click Announce shipment.
Write the shipment's barcode on every box so the warehouse can identify it.
If you entered a tracking number and a ship date, the shipment is in transit right away. Otherwise open it later and click Mark as shipped when it leaves.
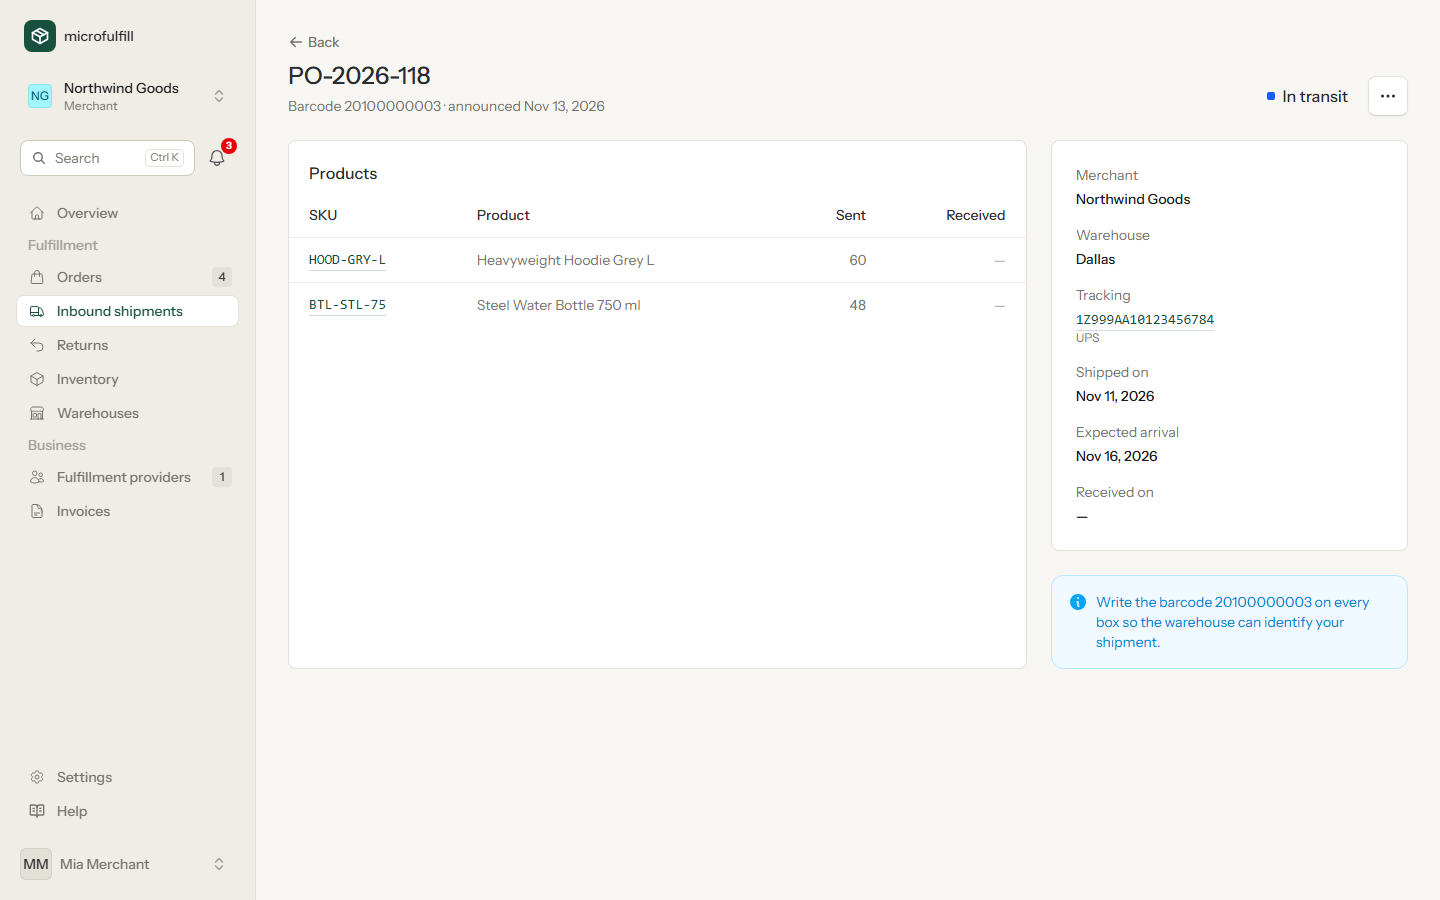
The quantities appear as incoming stock in your inventory until they are received. You can edit or delete a shipment until it is received.
Receive a shipment (providers)
- Open the shipment and click Receive.
- Enter the quantities you actually received. They are pre-filled with the sent quantities.
- Click Book into stock.
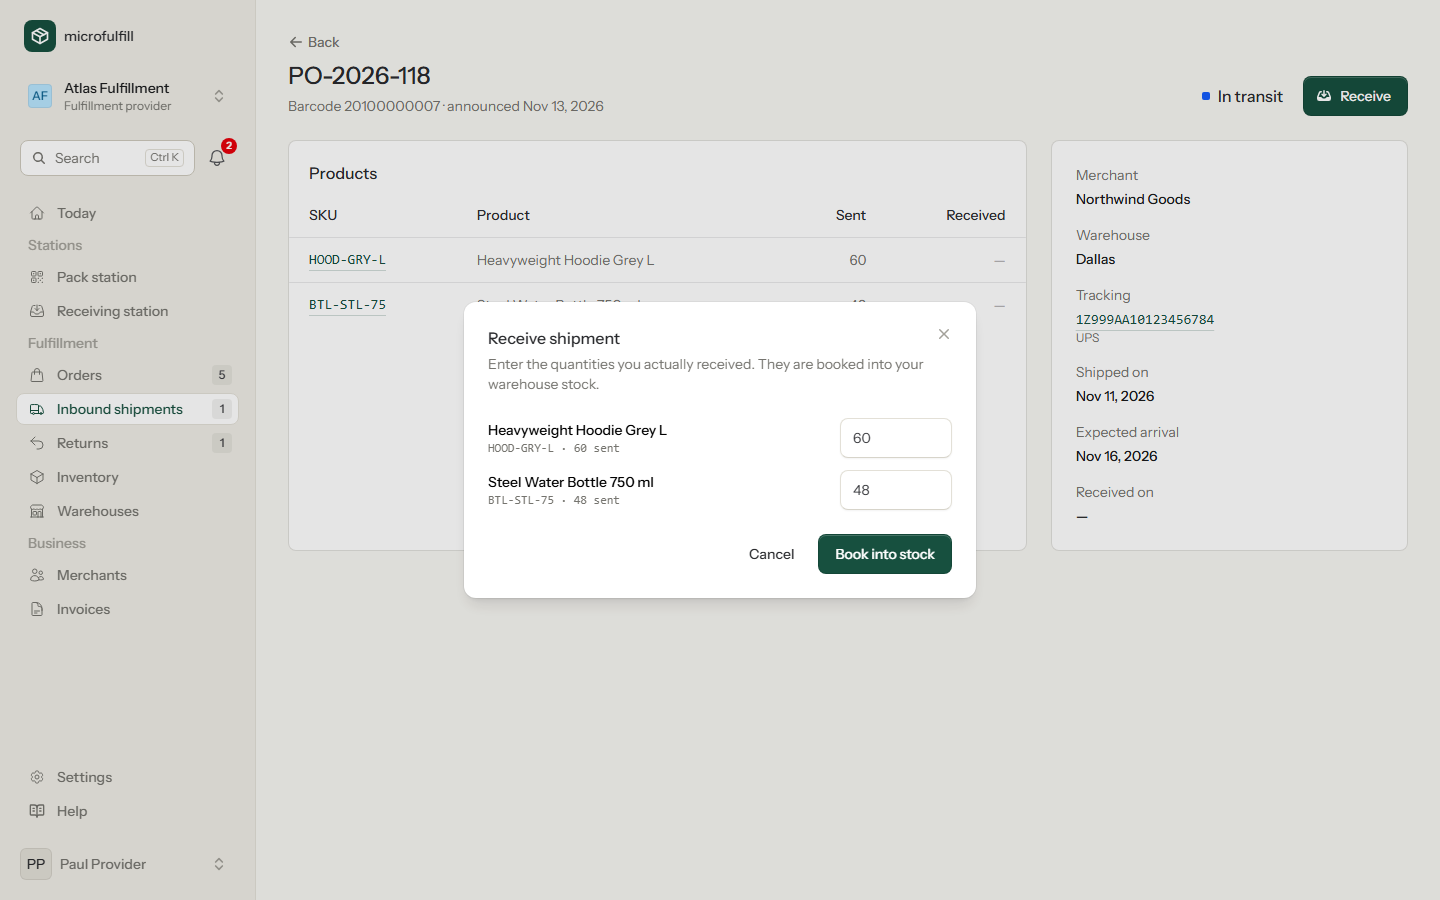
The quantities are added to the stock of your warehouse, and the receiving fee is added to the merchant's invoice. Differences between sent and received quantities are highlighted.
Receiving station (providers)
Count deliveries with a barcode scanner instead of typing quantities:
- Open Receiving station under Stations in the sidebar. Like the pack station it fills the whole screen; Leave takes you back.
- Scan the barcode on the carton (starts with
201), the reference or the tracking number. - Scan every unit while unpacking (EAN/GTIN or SKU). Products that are not part of the shipment and more units than announced are reported immediately; the bin location shows where to put the products away.
- Click Book into stock to book the counted quantities.
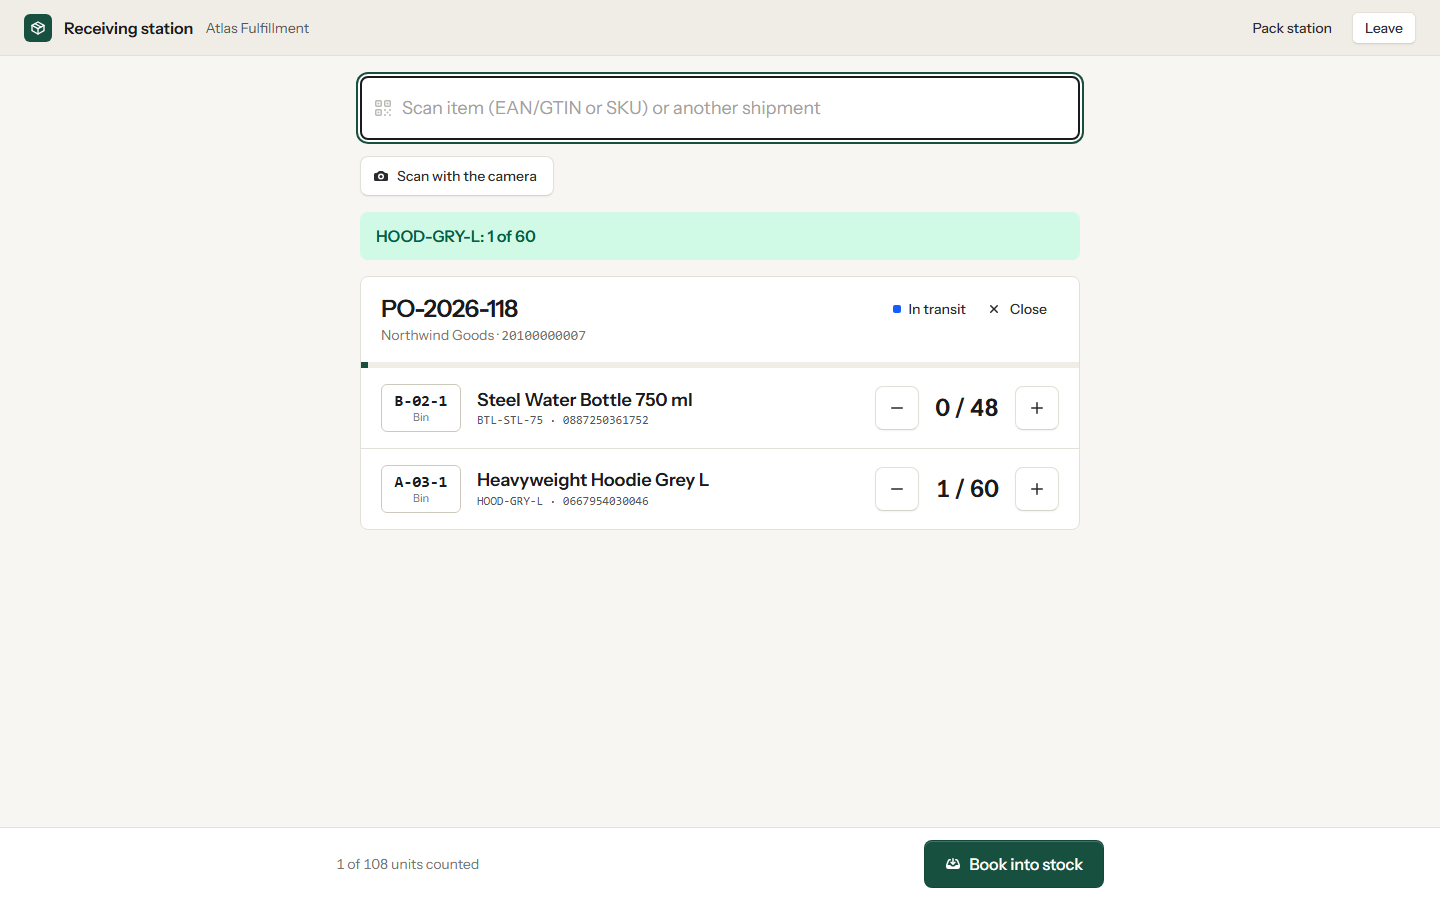
Without a hand scanner you can scan with the camera of your phone or tablet, see Scan with the camera.